Graphic designTree Illustration Vector – How to Make Leaf Brush – Illustrator Tutorials Hinz Na - September 17, 2020 Tree Illustration Vector – How to Make Leaf Brush – Illustrator Tutorials Read Post »
Graphic designLong Shadow Illustrator (Video) – Adobe Illustrator Long Shadow Text Effect Hinz Na - July 21, 2020 Long Shadow Illustrator (Video) – Adobe Illustrator Long Shadow Text Effect Read Post »
Graphic design25 Adobe Illustrator Tutorials for Beginners to Get Start – Video Tutorial Hina Naz - August 5, 2018 25 Adobe Illustrator Tutorials for Beginners to Get Start – Video Tutorial Read Post »
Graphic designHow to Design Pinterest Pins – Make Your Own Pins for Your Blog Hina Naz - June 6, 2018 How to Design Pinterest Pins – Make Your Own Pins for Your Blog Read Post »
Graphic designAdobe Illustrator Training – 1 Hour Training Class – Flat Design Tutorial Hina Naz - April 6, 2018 Adobe Illustrator Training – 1 Hour Training Class – Flat Design Tutorial Read Post »
Graphic designLogo Design Tutorial – Flat Logo Design – Adobe Illustrator Hina Naz - January 30, 2018 Logo Design Tutorial – Flat Logo Design – Adobe Illustrator Read Post »
Graphic designHow to Create a Logo in Illustrator Step by Step | Learn Logo Design (Lens) Hina Naz - January 25, 2018 How to Create a Logo in Illustrator Step by Step | Learn Logo Design (Lens) Read Post »
Graphic designBlending Vector Art – Illustrator Tutorial (3D Flower) – Graphic Design Hina Naz - January 20, 2018 Blending Vector Art – Illustrator Tutorial (3D Flower) – Graphic Design Read Post »
Graphic designGlitter Effect Illustrator – Glitter Texture – Glitter Text – Illustrator Tutorial Hina Naz - January 20, 2018 Glitter Effect Illustrator – Glitter Texture – Glitter Text – Illustrator Tutorial Read Post »
Graphic designHow to Create Grunge Brush Illustrator – Vector Graphics Tutorial Hina Naz - December 9, 2017 How to Create Grunge Brush Illustrator – Vector Graphics Tutorial Read Post »
Graphic designHow to Create Fast Food Logo Design in Illustrator – Nuggets, Box Hina Naz - October 28, 2017 How to Create Fast Food Logo Design in Illustrator – Nuggets, Box Read Post »
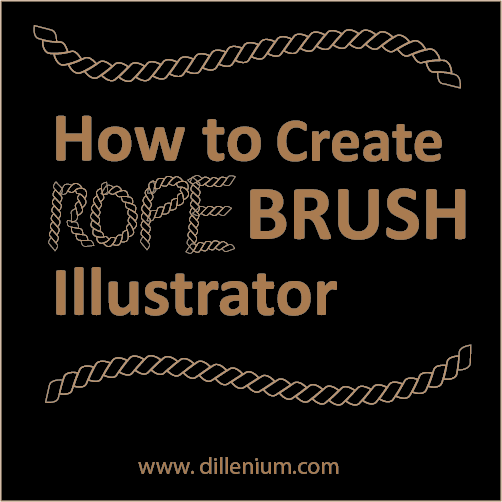
Graphic designHow to Create Rope Brush Illustrator – Rope Tutorial Illustrator Hina Naz - October 22, 2017 How to Create Rope Brush Illustrator – Rope Tutorial Illustrator Read Post »