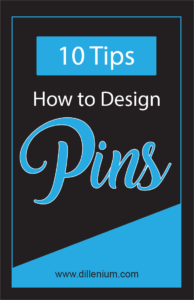
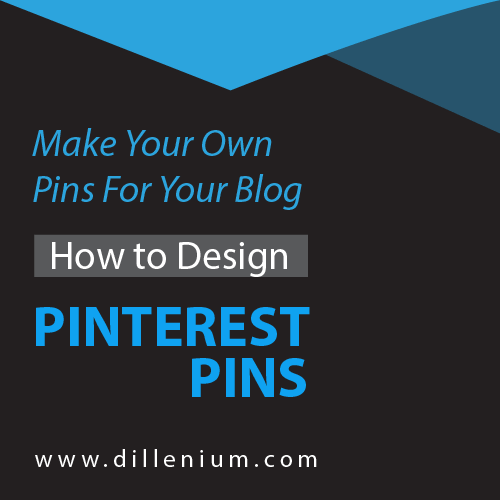
If you are looking ‘How to design Pinterest Pins’ then this post is for you. In this post, I will share step by step process to make your own pins for your blog/website.
As we all know that Pinterest is the most powerful tool to ‘increase blog traffic’ and in social media, Pinterest works well to drive traffic to your website.
Engaging, attractive and highly optimized ‘Pinterest pins’ capture people attention to ‘Repin’.
When I started blogging, I use to create normal images and it was not difficult for due to having ‘graphic design’ background. Later I come to know that to design ‘Pins’ for Pinterest most recommend as it’s different from normal images due to size. Normally, we place pins in infographic format so designing a perfect pin is the creative way of work.
If you have a blog or looking forward to starting your own blog then this blog post can help you to understand the most creative way to design Pinterest pins. Before designing a pin, I want to share the recommended sizes to design it. I already mentioned the pin size details in my last post “How to Use Pinterest to Increase Blog Traffic“. So here is the revision about size.
Recommended Size to Design Pins:
- 735 x 1102 Pixels
- 976 x 3642 pixels
- 735 x 2400 pixels
- 735 x 1200 pixels
Standard Size Dimensions and Ratio
- Small – 600 x 600 [Ratio:1:1]
- Medium – 600 x 900 [Ratio 2:3]
- Long – 600 x 1260 [Ratio 1:2:1]
Tools To Design Pinterest Pins
If you are not a graphic designer and looking forward to knowing about some easy ways to design Pinterest pins then you can use below tool to quickly create beautifully designed pins.
Design Pinterest Pins Using ‘Canva’
Canva is the graphic design tool that you can use to create beautifully Pinterest pins for your blog or website. Follow the step by step process to design pin using Canva.
- Access Canva website
- Create Account and get the login.
- In search, just write ‘Pinterest’.
- A list of premade ‘Pins’ will be visible.
- Comfortably choose your preferred one.
- You can easily edit pins to place your content.
- Save the pin.
- Download to place on your blog post or Pinterest account.
Make Your Own Pin Using Adobe Illustrator – Vector Graphic Design Software
If you didn’t explore the Adobe Illustrator software then you can easily download the 1 month Trial version from Adobe website. Here is the link to download the software
To know about the step by step process to design the pin using Illustrator you can watch this video to follow the quick steps.
Step By Step – Design Pinterest Pins Using Adobe Illustrator
- Open the software
- Go to File, Create a new document
- Fill up the setting screen according to below details.

- Now the Artboard is visible on the screen.
- Click on ‘Shape tool’ and drag a simple rectangle of the size of the artboard.
- Choose the color to ‘Black’.
- Now create another rectangle inside the bigger rectangle covering the artboard.
- To do this, you can drag another rectangle otherwise you can go to ‘Object’, choose Path, then ‘Offset Path’ and write the value 20. Press Ok.
- Now change the stroke color of the inner rectangle. Keep the fill color to none.
- Next, click on Text tool and write your content.
- You can choose a different font and other text settings.
- It’s best to follow steps using video tutorial as it’s simple, quick and easy to understand the overall design process.
Here you can see the final view of designed ‘Pinterest pin’.


Leave A Comment