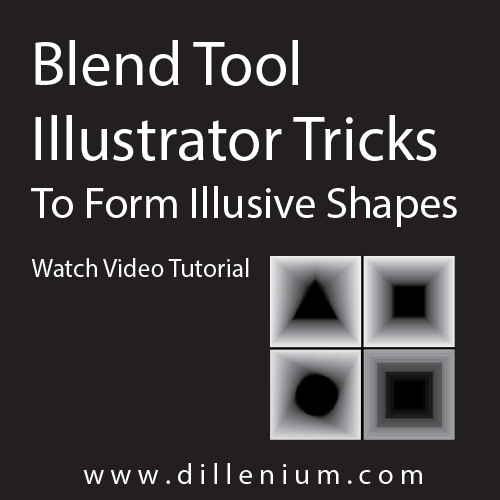
Graphic designBlend Tool Illustrator Tricks to Form Illusive Shapes – Video Tutorial Hina Naz - October 20, 2017 Blend Tool Illustrator Tricks to Form Illusive Shapes – Video Tutorial Read Post »
Graphic designHow to Create Golden Ratio Logo Design in Illustrator Hina Naz - October 19, 2017 How to Create Golden Ratio Logo Design in Illustrator Read Post »
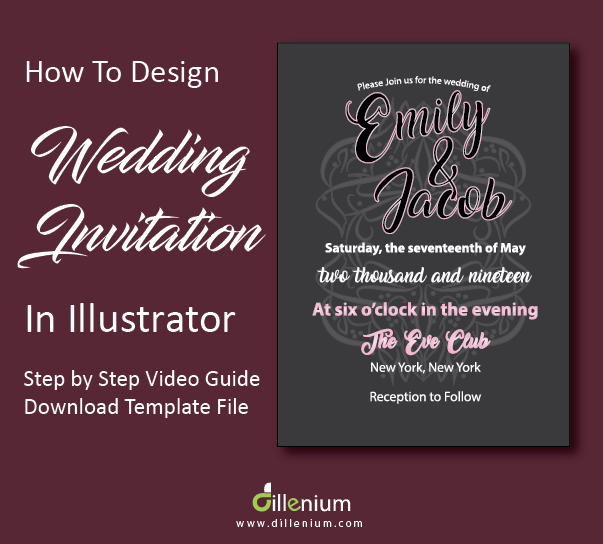
Graphic designHow to Design a Wedding Invitation in Adobe Illustrator Hina Naz - October 4, 2017 How to Design a Wedding Invitation in Adobe Illustrator Read Post »
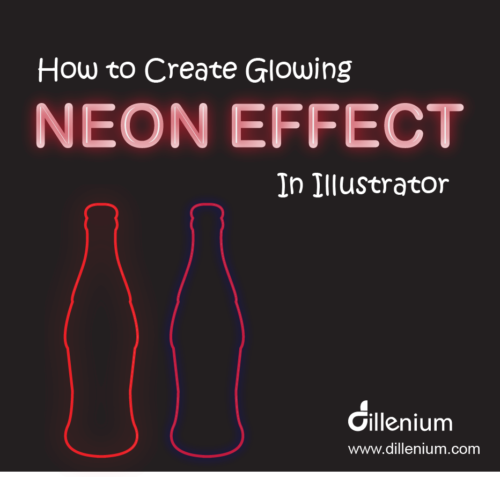
Graphic designCreating a Glowing Neon Effect in Illustrator – Video Tutorial Hina Naz - September 30, 2017 Creating a Glowing Neon Effect in Illustrator – Video Tutorial Read Post »
Graphic designHow to Create Chalkboard Vector Background in Illustrator Hina Naz - September 30, 2017 How to Create Chalkboard Vector Background in Illustrator Read Post »
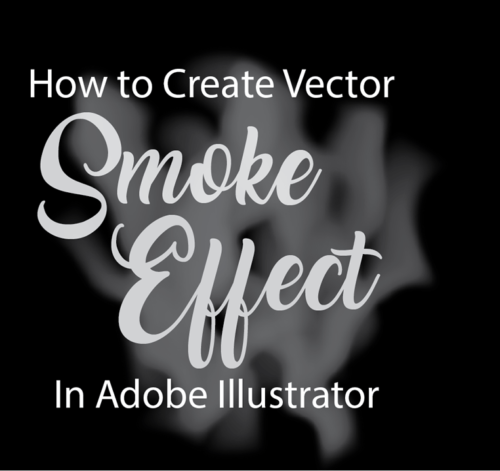
Graphic designHow to Create Smoke Vector Effect in Illustrator – Graphic Design Tutorial Hina Naz - September 30, 2017 How to Create Smoke Vector Effect in Illustrator – Graphic Design Tutorial Read Post »
Graphic designHow to Create Circle Logo Design – Illustrator Tutorial Hinz Na - September 20, 2017 How to Create Circle Logo Design – Illustrator Tutorial Read Post »
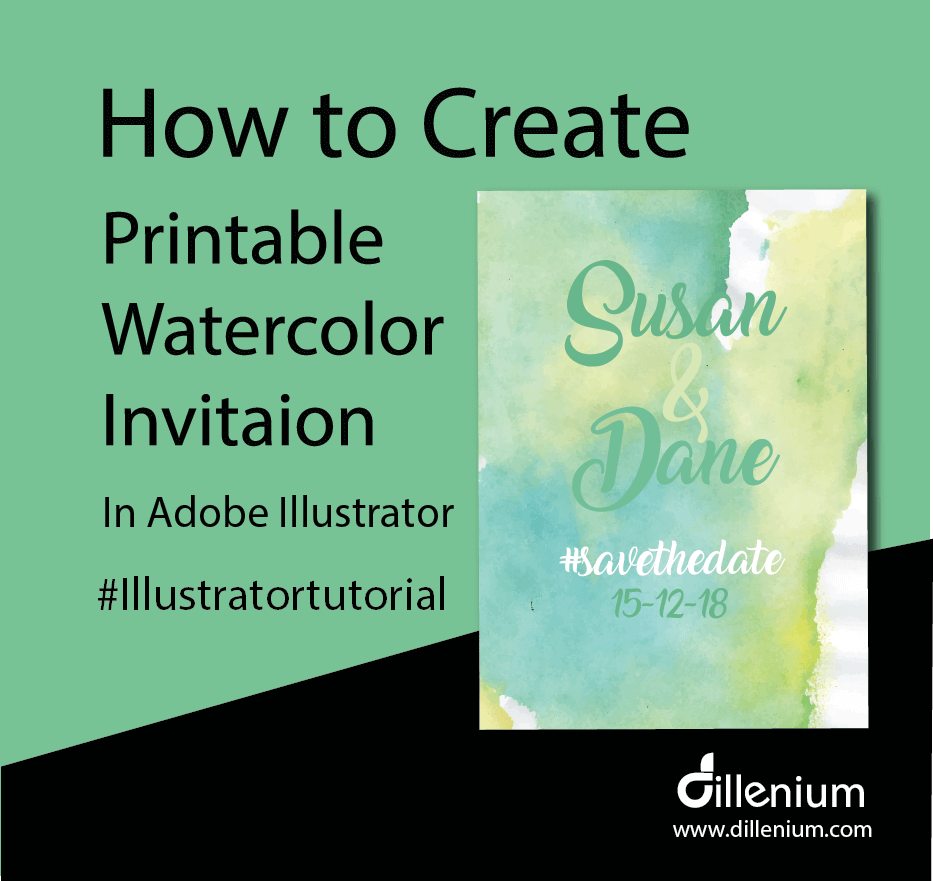
Graphic designHow to Make Watercolor Printable Wedding Invitations Hina Naz - September 17, 2017 How to Make Watercolor Printable Wedding Invitations Read Post »
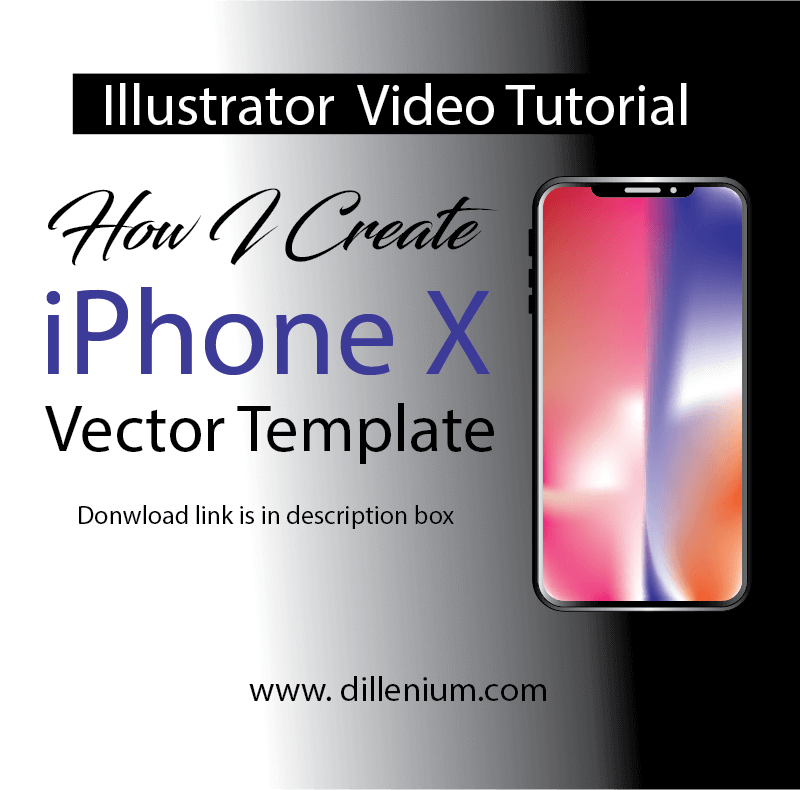
Graphic design4 Steps to Design New iPhone X Vector Template – Illustrator Mockup Hina Naz - September 14, 2017 4 Steps to Design New iPhone X Vector Template – Illustrator Mockup Read Post »
Graphic designIllustrator Tutorial: How to Design Folded Letters Logo Design in Illustrator Hina Naz - September 12, 2017 Illustrator Tutorial: How to Design Folded Letters Logo Design in Illustrator Read Post »
Graphic designIllustrator Tutorial – How to Design Initials Logo Design in Adobe Illustrator Hina Naz - September 11, 2017 Illustrator Tutorial – How to Design Initials Logo Design in Adobe Illustrator Read Post »